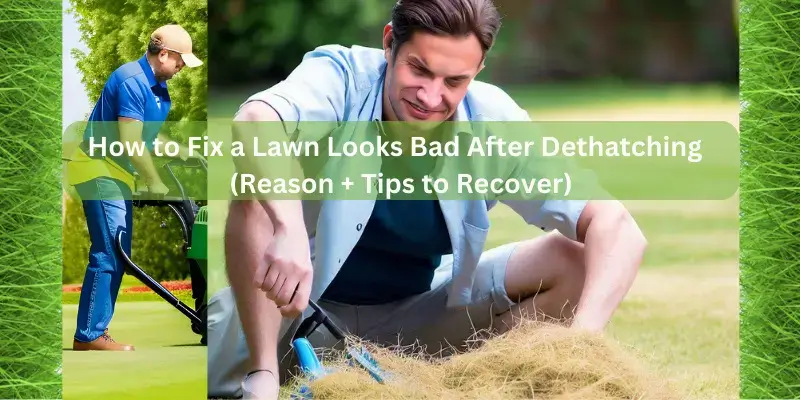
How to Fix a Lawn Looks Bad After Dethatching
It is very annoying when your lawn looks bad after dethatching. You are not the only one to face this issue. There are many homeowners who face the same problem. Every gardening enthusiast wants and has high hopes for a greener, more vibrant, and beautiful lawn after dethatching, but it is not an easy job.
Almost seeing the soil, very thin grass, and dull appearance of your property makes you frustrated, but on the other side, dethatching is essential for lawn care and maintenance.
In this blog post, I will provide you with a step-by-step guide to overcome the bad impact of dethatching your lawn. Let’s start with this immediate answer;
Your lawn can look bad after dethatching because it is like a shock to the grass. Imagine it as a deep cleaning for your lawn that can make it look a bit thin and stressed. But don’t worry, with proper care, it will be recovered and look better than ever before.
UNDERSTANDING THE DETHATCHING PROCESS BEFORE EXPLORING THE REASONS BEHIND LAWN LOOK BAD
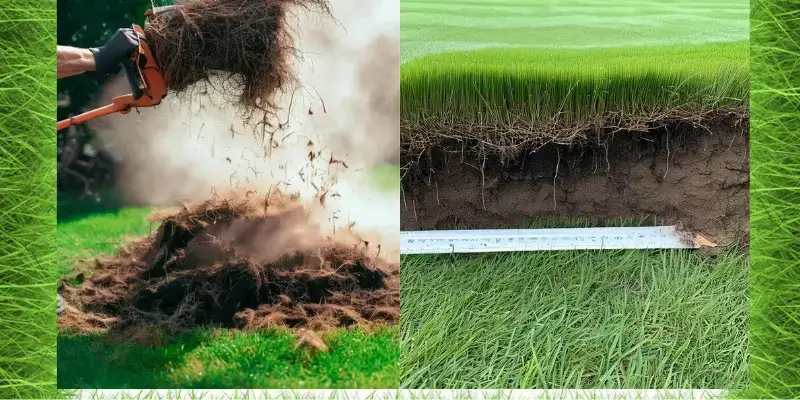
Before we shed light on the reasons why your lawn may look less than stellar after dethatching, let’s clarify what dethatching actually is. Dethatching is a fundamental lawn care practice that involves the removal of the layer of dead grass, roots, and other debris that gathers on the soil surface over time. This layer, known as thatch, can stop the penetration of water, nutrients, and air into the grassroots which ultimately decreases the grass growth.
MAIN REASON FOR LAWNS LOOKING BAD – POST-DETHATCHING PROCESS
Temporary Stress:
Dethatching, though beneficial in the long run, can initially stress your lawn. Think of it as a deep exfoliation for your grass, where the accumulated debris is forcefully removed. This process may temporarily shock the grass, causing it to appear sparse and unhealthy.
Exposure to Sunlight:
Once the thatch is removed, your grass may be exposed to direct sunlight. This sudden exposure can further stress the grass, making it look brown or faded.
Compacted Soil:
Dethatching can also uncover compacted soil beneath the thatch layer. Suppressed soil restricts root growth and nutrient absorption, contributing to the overall dull appearance of your lawn.
These are the scientific reasons behind the dull lawn after dethatching. So for better understating your question “Why Lawns Look Bad after Dethatching” a few common reasons include:
Using the Wrong Tool:
Selecting the incorrect dethatching tool can lead to uneven thatch removal, resulting in bare spots or patchy areas. The choice of the correct tool is mandatory for the dethatching process because it will damage your yard roots.
Dethatching a Dormant Lawn:
Dethatching a dormant lawn can be detrimental as the grass is weak and less capable of healing. Exposing roots and crowns during dormancy increases vulnerability to stress and disease.
Adverse Weather:
It is best to choose the right time of year and weather conditions for dethatching. Wet seasons can harm the grass, with soil being too damp for effective dethatching.
Insufficient Thatch:
Thatch should never be entirely removed from the lawn, as it serves crucial functions. Thatch protects grass roots, retains moisture, and maintains the lawn’s pH level. The optimal thickness of thatch is around half an inch.
Previous Problems:
If your grass still looks unattractive after dethatching, if the lawn is dormant it may have faced issues like disease, excessive growth, or poor nutrition. Dethatching can exacerbate problems in these cases, potentially weakening or killing your lawn.
RECOGNIZING SIGNS OF A TROUBLED LAWN AFTER DETHATCHING – PRIOR FIX
It is essential to be vigilant for signs of trouble in your lawn after dethatching. Grass can be temporarily stressed by this process, resulting in an unattractive appearance. Some common problems your grass may experience include:
Brown Spots:
Your lawn may develop brown stains or patches after dethatching. This could be due to damaged grass or dried-out exposed soil.
Thinning Grass:
Certain areas of your lawn may appear to have less grass because of the thatch removal, causing it to look less thick.
Emerging Weeds:
Another sign is the weeds might sprout up in the bare areas and disturbed regions left behind after dethatching. Keep an eye out for the growth of weeds.
Slow Recovery:
Your lawn may require time to bounce back and return to a healthy state. Various factors, such as grass type, environment, and maintenance, influence the speed of recovery.
Dry Soil:
Soil dehydration can be a concern in hot, dry climates, especially when soil is exposed. Ensure adequate irrigation to prevent soil from drying out.
Uneven Texture:
Dethatching can disrupt the grass, leading to an uneven or rough texture.
Remember that these symptoms are typically temporary, and your grass will recover and become stronger with time and attention.
REVIVING YOUR LAWN AFTER DETHATCHING – LOOKS TERRIBLE AFTER DETHATCHING
Now that you can better understand why your lawn might not look its best after dethatching, I start exploring effective solutions to revive your yard:
Proper Watering Routine
A well-thought-out watering schedule is essential after dethatching. Keep the soil consistently moist, but avoid waterlogging. When you water your property accurately it will increase the grass growth and your lawn will recover easily from the dethatching consequences.
Fertilize Wisely
Choose a balanced fertilizer with the right mix of nutrients, particularly nitrogen. Nitrogen promotes leafy growth and helps your grass regain its vibrant green color. Apply it according to recommended guidelines to prevent over-fertilization. Proper fertilization will give a new life to your lawn grass.
Over-seeding the existing Lawn
Over-seeding involves spreading grass seeds over your existing lawn. This technique helps fill in the gaps left by dethatching, ensuring a lush, beautiful lawn.
Aeration
Consider aerating your lawn after dethatching. Aeration allows the air in the soil with holes, alleviating compaction, and improving air circulation, which benefits root growth.
Provide Shade
When you dethatch your lawn, direct sunlight can damage the weak roots of your lawn grass. So, shield your newly dethatched lawn from intense sunlight. Use temporary shade cloth or patio umbrellas to reduce stress on the grass and prevent it from drying out.
Patience and Wait for the Results
Lastly, remember that patience is key to success. Your lawn will not rebound overnight. It may take several weeks for the grass to fully recover, so continue your care regimen diligently.
The recovery period for every lawn is different and depends upon several factors: grass type, environmental conditions, and the overall health of your lawn. By following these instructions and giving your grass the care it requires, you can achieve a vibrant, green lawn easily.
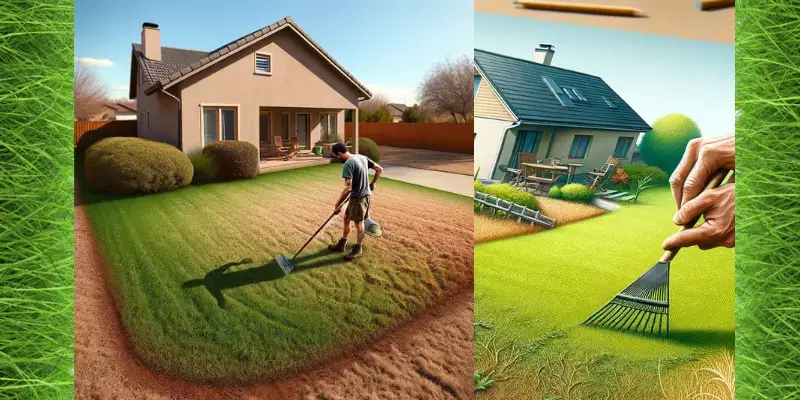
CHECK OF LIST – BEFORE AND AFTER DETHATCHING
Before Dethatching
After Dethatching
Post-Dethatching Lawn Care Tips
After dethatching, your lawn is in a vulnerable state, making it more susceptible to weeds, pests, and diseases. A few tips after dethatching are explained below:
Weed Control:
Post-dethatching, your lawn might be more prone to weeds. It’s important to implement effective weed control measures. Consider using a pre-emergent herbicide to prevent weed seeds from germinating. However, be cautious if you plan on overseeding, as some herbicides can affect seed growth. For existing weeds, opt for spot treatment using a post-emergent herbicide, ensuring it’s safe for your grass type.
Pest Management:
Pests can quickly take advantage of a stressed lawn. Keep an eye out for common lawn pests like grubs, chinch bugs, or sod webworms. If you notice signs of pest infestation (like brown patches, thinning grass, or visible insects), consider applying a suitable pesticide. It’s always best to identify the specific pest before treatment for effective control.
Disease Prevention:
Dethatched lawns can be more prone to fungal diseases. To prevent this, avoid watering in the evening as dampness overnight can promote fungal growth. If you spot signs of disease (like discolored patches or powdery residues), apply a fungicide. Be sure to choose a product that targets the specific disease affecting your lawn.
Maintain Proper Soil Moisture:
While it’s important to keep the soil moist, overwatering can lead to root rot and other issues. Water your lawn deeply but infrequently to encourage deeper root growth, which helps in building resilience.
Mowing Strategy:
Resume mowing once your lawn starts to grow back, but be gentle. Adjust your mower to a higher setting to avoid cutting the grass too short. Mowing too low can stress the grass and expose the soil to more sunlight, which can benefit weeds.
Regular Inspection and Maintenance:
Keep a regular check on your lawn’s health. Look for any signs of stress or irregularities and address them promptly. Regular maintenance, like removing debris and keeping the lawn clean, can also prevent pest infestations and diseases.
Balanced Nutrition:
After a few weeks of recovery, consider applying a balanced lawn fertilizer to provide essential nutrients. This will help in strengthening the grass and improving its overall health and appearance.
By following these post-dethatching lawn care tips, you can significantly improve your lawn’s ability to recover and maintain its health and beauty. Remember, patience and consistent care are key to reviving your lawn successfully after the stress of dethatching.
ADDITIONAL TIPS:
Keep an Eye on Your Lawn
Regularly check your lawn to catch problems early, even after it’s fixed.
Watering Wisely
Water your grass right, regularly but not too much, to keep it healthy.
Cutting and Feeding
Trim your grass correctly and feed it when needed using appropriate fertilizer, according to the season.
Let Your Lawn Breathe
Give your lawn some space to breathe by poking holes in it now and then after dethatching
How to Fix a Lawn Looks Bad After Dethatching(FAQs):
CONCLUSION
In this guide, I have explored the common reasons why your lawn might appear bad after dethatching and provided actionable tips to revive its beauty. Remember that dethatching is a beneficial process for the long-term health of your lawn, even if it causes temporary stress. With a well-planned watering regimen, wise fertilization, over-seeding, aeration, and protection from excessive sunlight, you can ensure your grass recovers and thrives.
Recognizing signs of trouble, such as brown spots, thinning grass, or the emergence of weeds, is crucial for addressing issues promptly. Understanding the potential reasons for a dull lawn, such as using the wrong dethatching tools or tackling a dormant lawn, helps you avoid common pitfalls.
Keep in mind that while the recovery period may vary, your patience and consistent care will be rewarded with a stunning lawn that leaves a lasting impression. So, put these tips into action and watch your lawn flourish into an attractive landscape.
External Resources
I use many external resources while writing a blog post which are genuinely from my gardening experiences. Here are the top external resources for your additional reading:
University of Maryland Extension – Lawn Dethatching: This resource provides in-depth information on the dethatching process and its benefits. University of Maryland Extension – Lawn Dethatching
The Lawn Care Nut – YouTube Channel: A YouTube channel dedicated to lawn care, offering practical tips and advice. The Lawn Care Nut – YouTube Channel
The Spruce – Lawn Care Tips: Explore a variety of articles on lawn care, including dethatching and maintenance. The Spruce – Lawn Care Tips

About Naveed A Hashmi
In my childhood, I used to see my parents while working in the land, for these reasons today I have been serving the same as our own tradition and culture. I thus love to stay in it, because I want to learn something advanced and new so that I may improve my farm’s contour and help others with my experience.