How to Prepare Your Snowblower for Winter: 10-Step Checklist
Why October Is the Right Time
Snowblower breakdowns are brutally seasonal. Once the first real storm hits, repair shops and dealers are booked solid with machines that sat untouched since March — most of them suffering from the same preventable cause: stale fuel and skipped maintenance. Do the work now, while the weather is still decent, parts are on the shelves, and you can test everything without six inches of snow on the driveway.
There’s a mechanical reason to hurry, too. Pump gasoline — especially ethanol blends — degrades quickly in storage, and many manufacturers recommend using it within about 30 days of purchase. Fuel left sitting in the tank all summer turns into varnish that clogs the carburetor, which is the number-one reason a snow blower starts surging or refuses to start at all. An afternoon of prevention in October beats a morning of misery in January.
The 10-Step Pre-Winter Checklist
Work through these in order. You’ll need fresh gasoline, fuel stabilizer, engine oil, a new spark plug, a spark plug wrench, and a few shop rags. Total time: about one to two hours. Your owner’s manual is the final authority on service intervals — Toro, for example, publishes its full maintenance schedule online.
Step 1: Deal With Last Season’s Fuel
This is the single most important step. If untreated gasoline sat in the tank all summer, drain it — siphon it out or run the engine until it’s dry, then drain the carburetor bowl if your model allows it. Refill with fresh gasoline treated with fuel stabilizer, then run the engine for two to three minutes so the stabilized fuel circulates through the lines and carburetor. Never store the machine with untreated old gas; that varnish is what causes surging, rough running, and no-starts on the first snow day.
Step 2: Change the Engine Oil
Old oil accumulates moisture and acids during storage, which corrode internal parts over time. Change it once a season: run the engine for a minute or two first (warm oil drains faster and carries more contaminants out), drain it into a container, and refill to the proper level with the type and grade your owner’s manual specifies. Check the dipstick — don’t guess.
Step 3: Replace the Spark Plug
A spark plug costs a few dollars and takes five minutes to swap — cheap insurance against a no-start morning. Remove the old plug with a spark plug wrench and inspect it: heavy carbon buildup or an oily coating hints at bigger issues worth investigating before winter. Install the new plug to the correct gap per your manual, and don’t overtighten.
Step 4: Clean or Replace the Air Filter
A clogged air filter starves the engine of air, causing rough running and lost power. Foam filters can usually be washed in warm soapy water, dried completely, and lightly re-oiled; paper filters should simply be replaced if dirty. If mice nested in the airbox over summer — it happens — clean it out thoroughly.
Step 5: Inspect the Belts
Check the auger and drive belts for cracks, fraying, glazing, or slack. Belts deteriorate with age even when the machine sits idle, and a belt that snaps mid-storm leaves you shoveling. Replace any belt that looks worn now, while replacements are easy to find — not in January.
Step 6: Check the Shear Pins (and Buy Spares)
Shear pins are designed to snap if the auger hits a rock or chunk of ice, sacrificing themselves to protect the expensive gearbox. Inspect the ones installed, and — this is the key move — buy a pack of spares today and keep them with the machine. Losing a shear pin mid-storm without a spare means the auger won’t turn until you get one.
Step 7: Inspect the Scraper Bar and Skid Shoes
Flip the machine up (spark plug wire disconnected first) and look at the scraper bar along the bottom of the auger housing and the skid shoes on the sides. A worn scraper bar leaves snow behind and can gouge driveways; worn skid shoes let the housing ride too low. Adjust or replace them — a fresh scraper edge is also one of the simplest fixes when a snowblower isn’t throwing snow far.
Step 8: Check Tires and Lubrication Points
Inflate tires to the pressure listed in your manual — soft tires hurt traction exactly when you need it most. Hit every grease fitting and lubricate the chute rotation mechanism and cables so nothing binds in freezing temperatures. On two-stage models, also check the auger gearbox oil level.
Step 9: Test-Start It Today
Don’t wait for the first snowfall to discover a problem. Start the machine now and run every function: auger engagement, chute rotation and deflection, drive speeds forward and reverse, headlight if equipped. Listen for surging or hesitation. Anything that misbehaves today is a quick fix; on storm day it’s a crisis. If the engine runs rough, our snowblower troubleshooting guide walks through diagnosis step by step.
Step 10: Stage Your Winter Kit
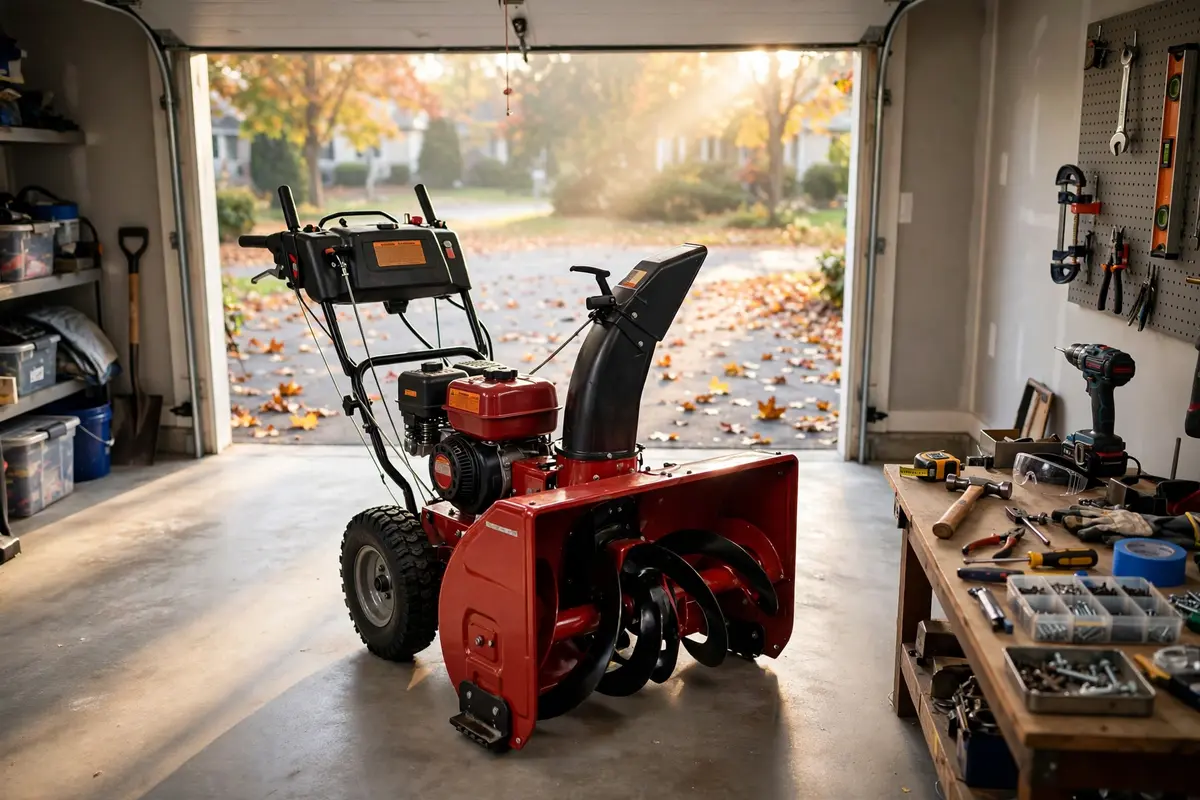
Put everything you’ll need within arm’s reach before winter: spare shear pins, a bottle of fuel stabilizer, a sealed can of fresh gasoline (refreshed monthly — don’t let the can sit all winter either), spare spark plug, and the owner’s manual. Clear a path in the garage or shed so the snowblower — not the lawn mower — is the machine parked by the door.
Gas vs. Battery-Electric: What’s Different
Own a battery-electric snowblower? You skip the fuel, oil, and spark plug steps entirely — but don’t skip prep. Fully charge all batteries now and confirm they hold a charge; a battery that faded over summer needs replacing before winter, not during it. Inspect the paddles or auger, scraper bar, and chute for wear, and store batteries in a cool, dry place per the manufacturer’s guidance. Cold saps runtime, so having a second charged battery ready is the electric equivalent of a full gas can.
Frequently Asked Questions
When should I start preparing my snowblower for winter?
October is ideal in most snow regions — a few weeks before the first expected snowfall. That leaves time to order parts and fix anything your test run reveals, while dealers still have stock and short wait times.
Should I use fresh gas or just add stabilizer to old gas?
Always start with fresh gasoline. Stabilizer prevents fresh fuel from degrading; it can’t reverse fuel that’s already gone stale. Drain untreated old gas first, then refill with fresh gas plus stabilizer.
My snowblower sat all summer with old gas in it. Is it ruined?
Probably not. Drain the old fuel completely, refill with fresh stabilized gasoline, and try starting it. If it surges or runs rough, the carburetor is likely gummed up — see our guide on fixing a surging snow blower, which covers exactly this situation.
Do electric snowblowers need winter preparation?
Yes, just a shorter list: charge and test the batteries, inspect paddles, scraper bar and chute, and confirm everything moves freely. No fuel or oil to worry about.
Can I just pay a dealer to do all this?
Absolutely — a pre-season tune-up is money well spent if you’d rather not DIY. Just book it in October. After the first snowfall, those same shops are swamped with emergency repairs and wait times stretch for weeks.
An hour or two now buys you a winter of pull-the-cord-and-go reliability. And if anything does act up mid-season, our snowblower troubleshooting guide has you covered. Prefer watching over reading? Toro’s pre-season walkthrough video covers the same checks visually.